Updated October 31, 2026
Stage Requirements and WIN Pads
Compare seven recorded stage banners and understand the advertised 13-stage scope.
Quick answer
The table below transcribes readable banners from the reviewed recording. These values are preparation guidance from that build; they are not a complete current-server walkthrough.
Work through the guide
Use the current server interface when requirements have changed.
Seven recorded stage banners
Seven recorded stage banners
- Success check
- Read the matching meter or stage label before attempting the next movement.
- If it remains unclear
- Return to the previous solid surface or lobby when the current requirement or route is unclear; inspect the current screen before spending currency.
Read the supporting evidence
§Seven recorded stage banners#
The table below transcribes readable banners from the reviewed recording. These values are preparation guidance from that build; they are not a complete current-server walkthrough.
Twisted Causeway displays 465 grip in the reviewed full-resolution banner. These values describe the recording; the table does not guarantee that a recommendation is enforced as an entry lock.
On small screens, swipe the table to compare all columns.
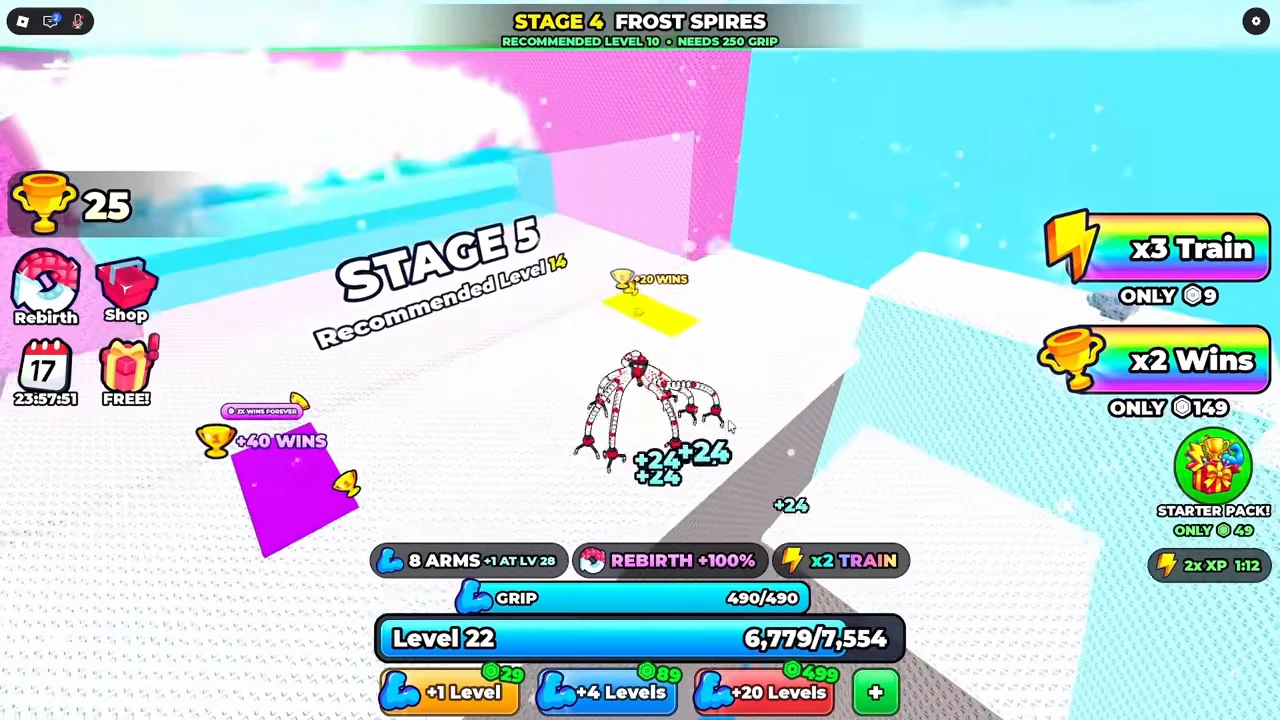
Stage Name Recommended level Displayed grip 1 Starter Town 0 54 2 Skyline City 1 65 3 Boulder Canyon 5 171 4 Frost Spires 10 250 5 Tsunami 14 344 6 Twisted Causeway 25 465 7 Haunted Keep 39 648 Collect Wins at the top
Collect Wins at the top
- Success check
- Read the matching meter or stage label before attempting the next movement.
- If it remains unclear
- Return to the previous solid surface or lobby when the current requirement or route is unclear; inspect the current screen before spending currency.
Read the supporting evidence
§Collect Wins at the top#
The tutorial tells you to step onto a WIN pad. Later footage shows yellow and purple reward pads together. Their different displayed rewards do not by themselves prove the purple pad’s eligibility rules.
Finish the route, read the current pad labels and use the pad available to you. Do not assume a paid multiplier or alternate pad is included in a baseline reward.
Tsunami: identify waves and raised blocks
Tsunami: identify waves and raised blocks
- Success check
- You can identify the next raised block and the approaching wave.
- If it remains unclear
- Return to the previous solid surface or lobby when the current requirement or route is unclear; inspect the current screen before spending currency.
Read the supporting evidence
§Tsunami: identify waves and raised blocks#
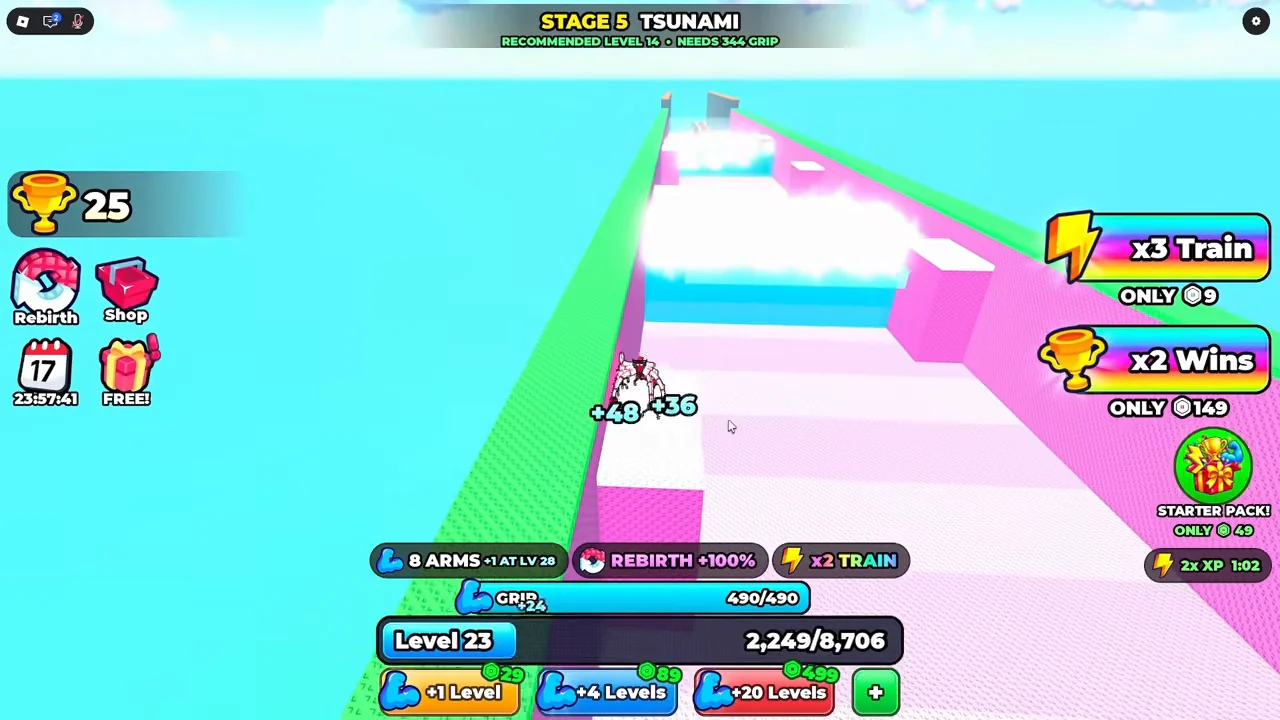
Stage 5 is a long pink corridor with raised, white-topped blocks and bright cyan waves crossing its floor. Look ahead for the next block and watch a wave pass before choosing your next movement. Keep your next wall or solid surface in view.
The recording also displays Washed Away while the grip meter is full. More grip alone does not establish protection from this hazard. The sampled frames do not establish the wave interval, collision rules or a guaranteed safe spot on every block.
Twisted Causeway: plan the next contact
Twisted Causeway: plan the next contact
- Success check
- You can identify your next wall contact or platform before moving.
- If it remains unclear
- Return to the previous solid surface or lobby when the current requirement or route is unclear; inspect the current screen before spending currency.
Read the supporting evidence
§Twisted Causeway: plan the next contact#
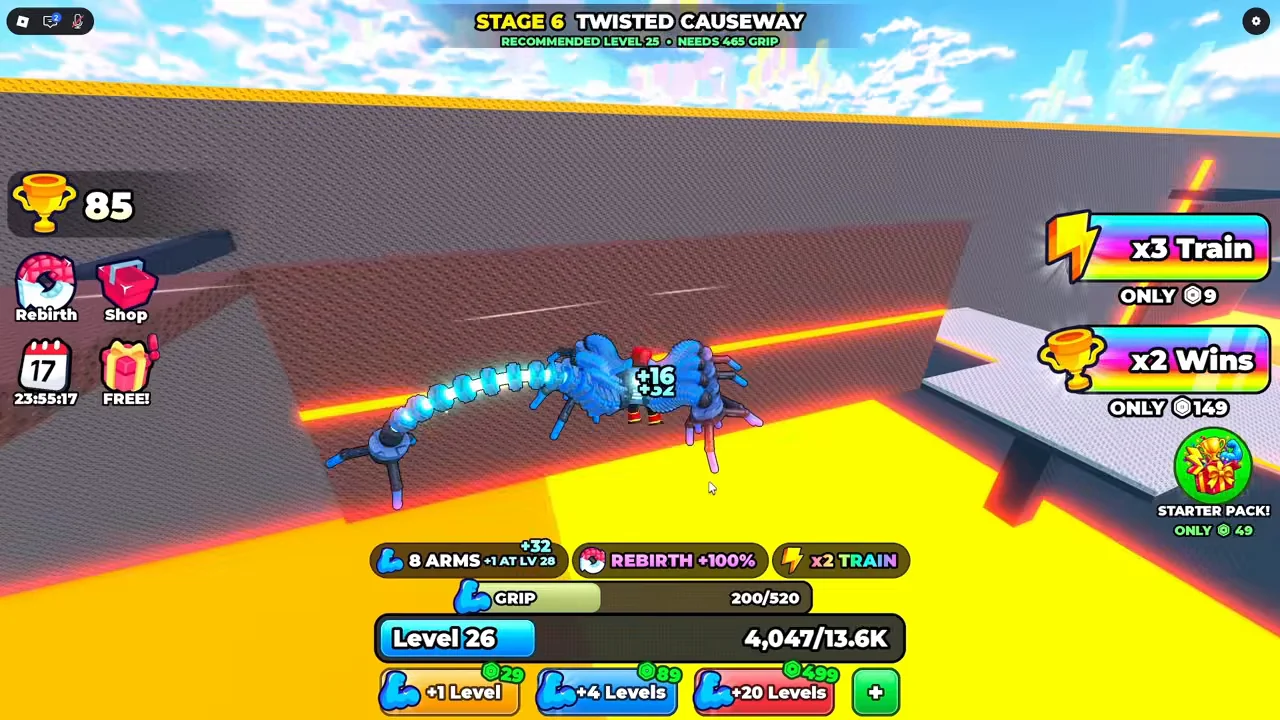
Stage 6 has tall dark walls above an orange hazard floor, glowing horizontal bars and small side platforms. The pictured player is attached to a wall with 200/520 grip remaining. Identify the next platform or wall section before leaving your current contact.
Use the 465-grip banner as a preparation target, then inspect your current meter during the crossing. Avoid relying on a full meter to make contact with distant surfaces; the recording does not establish the collision boxes or a complete safe route.
Haunted Keep: recognize the upper walkway
Haunted Keep: recognize the upper walkway
- Success check
- You can identify the upper walkway and finish pads.
- If it remains unclear
- Return to the previous solid surface or lobby when the current requirement or route is unclear; inspect the current screen before spending currency.
Read the supporting evidence
§Haunted Keep: recognize the upper walkway#
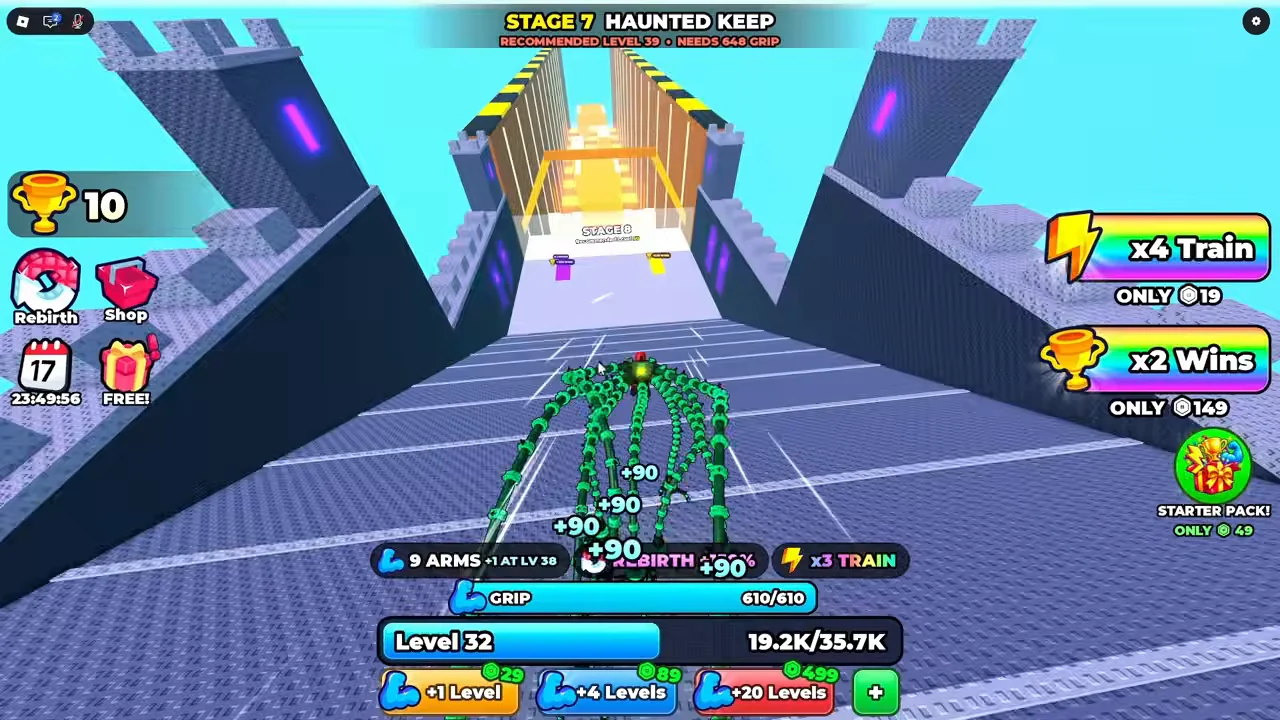
Stage 7 uses dark stone walls, purple-lit structures and a roofed passage. In the recording, arms attach beneath the low stone roof before the view reaches an upper sloping walkway. Hold the climb control for ceiling contact and keep checking grip while underneath.
From the upper walkway, look toward the yellow and purple finish pads in front of the Stage 8 entrance. Seeing that entrance does not verify the next stage name or its full route. The displayed recommendation is level 39 and 648 grip in this recording.
Spend Wins on armature unlocks
Spend Wins on armature unlocks
- Success check
- Read the matching meter or stage label before attempting the next movement.
- If it remains unclear
- Return to the previous solid surface or lobby when the current requirement or route is unclear; inspect the current screen before spending currency.
Read the supporting evidence
§Spend Wins on armature unlocks#
The official description says stage Wins unlock 12 armatures through GENESIS. The lobby stands show the current requirement before you spend Wins. Two recorded examples are HAULER at 5 Wins and INFERNO at 300 Wins.
Use the armature guide for the stand location, the E unlock prompt, the displayed XP bonus and the visible result to check after an unlock. The complete twelve-armature price list remains unverified.
Scope and sources
Official description and recorded interface checked October 31, 2026.
- Recorded interface values can change. Paid boosts are present in the reviewed community recording.